
Patches are part of the art used in the clothing industry. They add fun and a touch of personality to your clothes. But have you thought of using patches to sew the rips in your clothes? This article will walk you through 7 DIY patches to sew those rips in your clothes.
1. Ironed Patches
These are embroidered patches, and you must use heat to apply them. This is one of the easiest DIY methods. These patches are sticky, so when you apply heat, you activate them.
Procedure to get your patch ready
- Place your Patch on the torn area
- Spray a little water on the Patch’s backside
- Cover your embroidered patch with thin fabric or wax paper to prevent the heat from destroying it
- Set the iron’s temperature to that of the Patch’s fabric
- Place the iron on the patch
- Press the iron evenly for 25-30 seconds
Important Note
When the Patch is made of elastic, leather, or nylon, or it’s waterproof, don’t use an iron to stick the Patch.
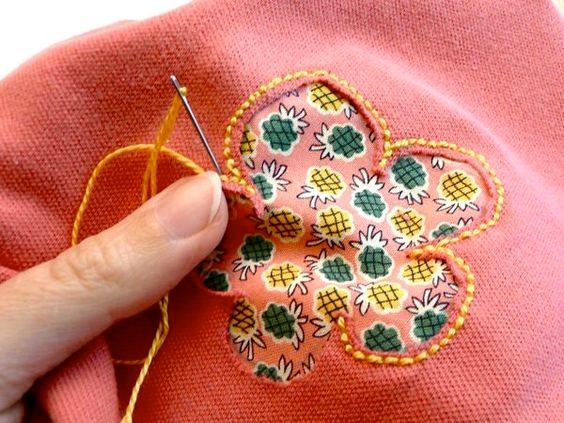
2. Appliqued Patch
An applique patch is attached to the outside of a torn garment. The Patch is handmade or machine appliqued. To fix it:
- Get ready with a thread and a needle.
- Ensure the line has a contrasting color for the best outcome.
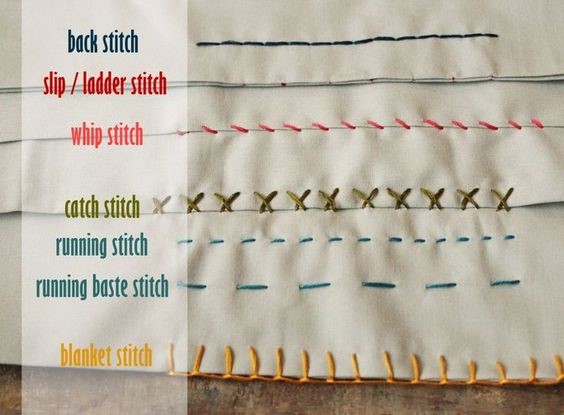
- Make closely spaced zigzag stitches around the fabric’s edges.
- Attach with Running stitch
Do you have a ready-made patch? It’s time to say goodbye to the tears on your clothes. To start, temporarily use glue to fix the Patch on the torn part. Next, get a needle and a thread and sew around the match. For a stunning look, the line should match the Patch.
4. Reverse Applique Patch
The reverse applique patch is yet another method to close the rips in your torn clothes. The method differs slightly from the appliqued patch method.
Procedure
- Cut the tear to match the shape of the Patch
- position the Patch at the back of the incision you want to sew
- Stitch around the tear in a zigzag way, or use the simple straight stitch method
- Your garment is ready
5. Hand Sewn Set in Patch
A set in Patch is a contrasting or self-fabric patch that you place on the underside of the garment. Then, you sew it from beneath (the wrong side of the clothing). If you want to be more stylish, you can trim the raveled threads on the part you want to cover before stitching. Then, you can cut the piece in your desired shape. The best one is the square shape. After getting your desired shape, you can now sew the rip.

6. Hand Sewn Flannel or felt Patch
Here, you use a patch piece of felt. It can have a matching or a contrasting color.
Procedure
- Cut the fabric patch to form a square shape. Make sure it’s big enough to cover the hole you want to sew
- Put the Patch on the torn area
- Make sure the garment’s and patch’s warp threads match
- Baste
- Stitch the Patch to the garment
- Turn your clothing to the wrong side
- Trim the worn part and get rid of basting stitches

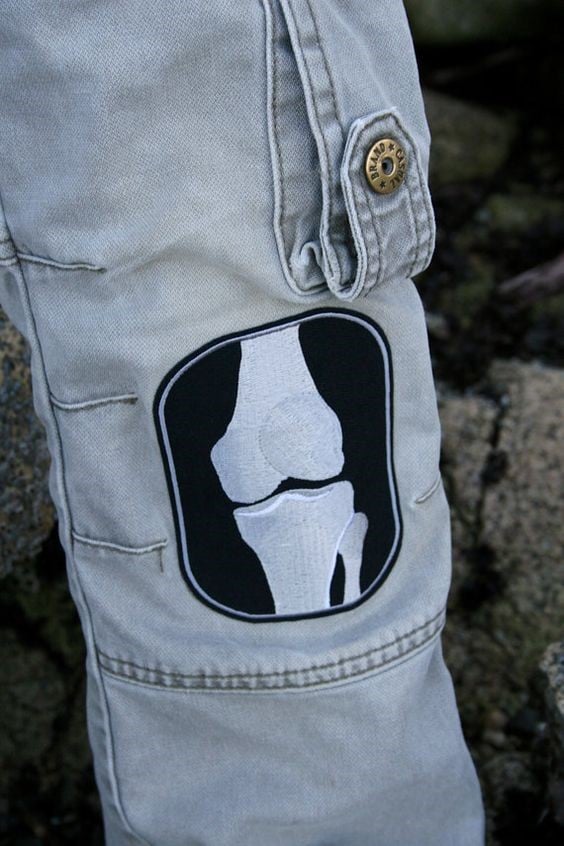
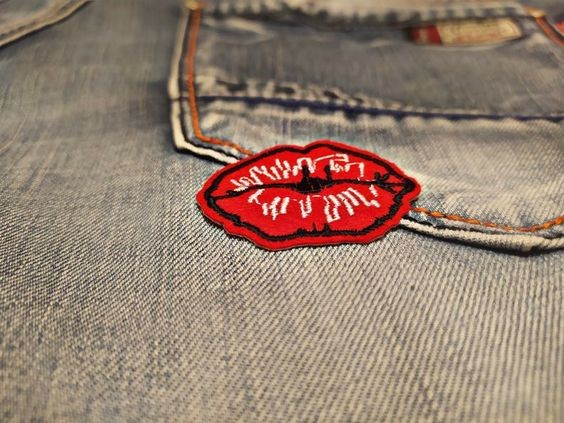
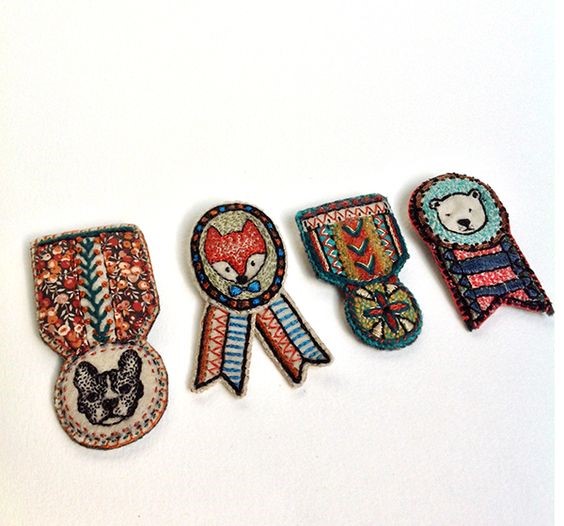
7. Hand Made Embroidered Medal Patches
This is another good method to cover the rips in your clothes. It’s a perfect method, especially for your denim jeans. In this DIY patch method, you put some glue on the underside of the medal. Then, you position the award to cover the Patch and press firmly and evenly.
The-Key-Take-Away
Do you have clothes that have rips, and you no longer wear them? This is hurting, especially when it is your beloved wear. It’s time to fix your garment. The above DIY patches are a good deal to get you started.